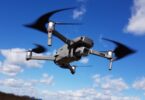
You have a drone, you shot your first videos with it and you are quite satisfied with the result. However, you hear on forums or sites that you have to use ND filters on your device, that it is “indispensable” to have a cinematic rendering, and especially to be able to respect the rule of the shutter set to double the image frequency … So much information that has lost you!
What is a drone filter?
Drone magnifiers are “glasses” that you adapt to your drone’s camera. There are different types depending on the effect you want to produce. The goal of drone filters is to get as much detail as possible about your photos/videos and to maintain maximum quality. It also protects your camera and allows you to use and store it longer.
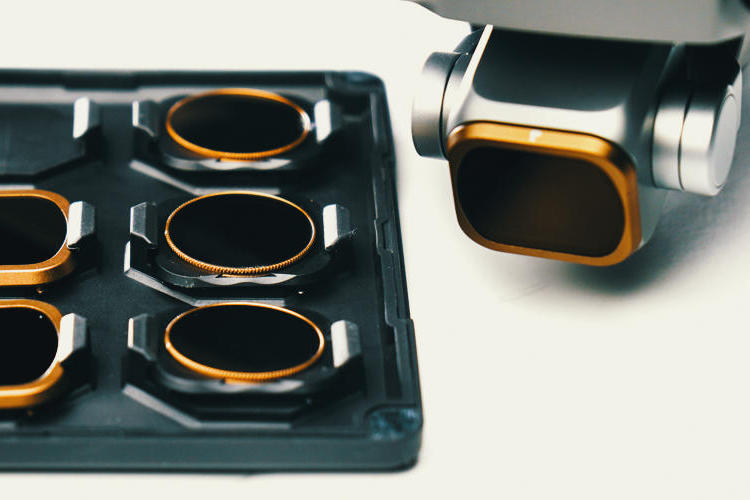
Different types of filters
ND: Neutral Density
- Make long-laying catches
- Avoid overexposure in a very bright environment
- Absorb light evenly
- Reduce shutter speed (for videos)
- Avoid color alteration
- Do not result from other UV effects
- Mitigate the Jello effect and the shadow of the propellers
ND (Neutral Density), or neutral density, are extremely useful for any photographer and videographer who seeks to obtain a better rendering for his videos, to make takes in the long pose of the day, or simply to avoid reflections or overexposure in a very bright environment or with the sun in the frame.
This type of product has the particularity of absorbing evenly the light that arrives in the sensor of the camera to take optimal photos and videos in bright lighting conditions.
Example:
- ND 4: Sunrise and sunset
- ND 8: Cloudy or cloudy weather
- ND 16: sunny weather
- ND 32: very bright (snow or sea)
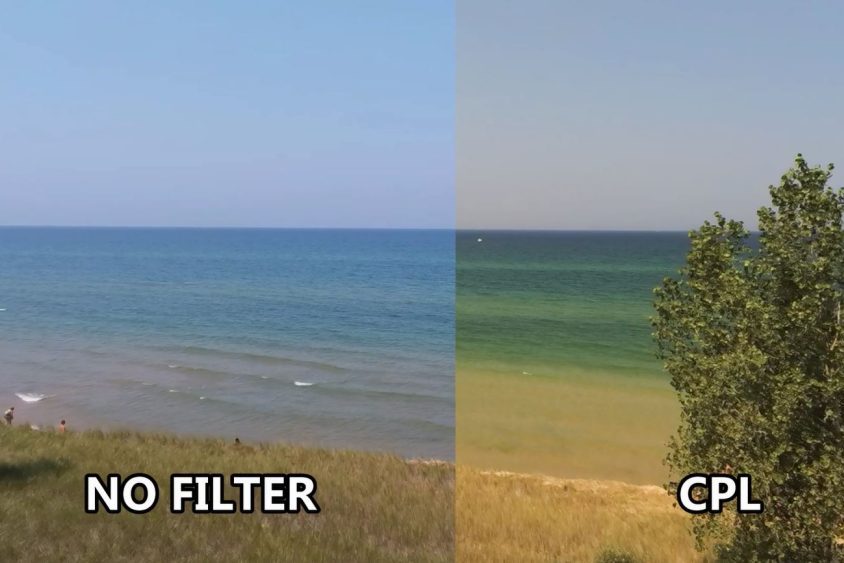
CPL Filters: Polarizing Circular
- Avoid making aperture or ISO settings (ideal for photo)
NDPL Filters: Polarant Neutral Density Filter
- Hybrid filter (ND and CPL)
Grated filters
- Used for photo: gradient of blue, orange… mainly about landscapes.
UV: Ultra Violet
- Protects your camera
- Reduce blue radiation and the effects of the atmosphere and its sail in particular
The brands of drone filters.
Many brands exist and sell lenses for drones, however, not all are of quality. Some of the top and popular brands include but not limited to, PolarPro, DJI, PGYTECH, and Freewell.
Beware, not all drones are compatible with lenses.
What is a good filter?
A good lens is made of glass and not of plastic (for the sake of strength and quality).
The glasses of these lenses must be treated on both sides.
- No vignetting.
- Don’t make any noise.
- No focus problems.
If you don’t know which lens to choose, PolarPro offers you an app called PolarPro Filter Calculator, free of charge, it will guide you in your choice of lens.
Why do I need an ND filter for your drone?
Neutral Density (ND) is a type of lens that you will find in the bag of all professional photographers. It reduces the amount of light that passes through the lens. Basically, it acts like sunglasses. Each magnifier is marked by a number. The higher the number, the greater the reduction in light. This means that in practice, less light reaches the sensor.
Drones have a fixed aperture, with shutter speed and ISO being the only variables available to define correct exposure. And the problem is that the drones fly very high and there is a lot of light at this altitude. But don’t worry, ‘ND lenses are here to help!
Why is it better to have a slower shutter speed?
As we have already said, a drone camera has a fixed aperture, which means it can control exposure only through ISO and shutter speed. If the brightness is too high, the camera increases the shutter speed (less light reaches the sensor) and thus compensates for the absence of an ND lense.
But the problem with a high shutter speed is that it creates a gelatinous effect and gives a distorted image that has a rather unsafe professional rendering. To avoid this, we help the camera by adding an ND (Neutral Density) magnifier, which reduces light to prevent the camera from needing to increase shutter speed and to allow you to have more field of maneuver to correct exposure.
In addition, a slower shutter speed creates a blur of motion. This is the same motion blur we see every day with our own eyes when our brain scrambles all the visual information it receives in order to focus on a particular thing.
The same thing happens in your video sequences… If everything is clear, without any motion blur, your video lacks naturalness and becomes unpleasant to watch.
How do I install and maintain an ND filter?
To have a magnifier on your drone, the process is simple: just attach it to the lens. If the magnifiers don’t attach to your drone, the solution is to use magnifier holders. Once you’ve fixed the lens doors on your drone’s camera, all you have to do is slide the filters into it and you’re done!
For round lenses, you’ll need to install them by unscrewing the existing magnifier or cache, and then screwing the ND filter you want to use.
For rectangular lenses for DJI drones, handling is a little faster but it’s a helping hand to take. The lens should be pinched at the corners and an anti-hourly rotation must be made to remove it. Then you do the reverse to install the magnifier.
You should always install a magnifier, or adjust the ring of a polarizing or variable magnifier, when the drone is off, so as not to force on the pod and cause overload.
ND magnifiers are small, rather fragile lenses. To clean them, I advise you to use a non-fluffy microfiber, or a bellows to remove dust from the filter and pod without the risk of damaging it.
What about the other action cam?
Unfortunately, custom ND magnifiers do not offer a wide variety of densities and are not fixed on most UAV cameras.
To get around this, the easiest way is to use magnifier doors. The principle is simple: you attach them to your camera and then you get square or rectangular magnifiers that come to slip into the magnifier holder. This will give you a wide range of densities and quality.

